Building a Dedicated Console Access Server for Cisco Lab

Managing a Cisco lab with multiple routers and switches is much easier with a centralized console access server. In this setup, I use a mini PC with 6 built-in console (serial) ports to provide direct, always-available console access to all lab devices from a single system.

Key Advantages:
- No need for USB dongles or cable swapping
- Fixed, reliable serial port mapping
- Centralized console management
Step 1: Install Ubuntu
Create a bootable Ubuntu installer
Install Ubuntu on the mini PC
Update the system:
sudo apt update && sudo apt upgrade -y
(Optional) Enable SSH:
sudo apt install openssh-server -y
Step 2: Verify the 6 Console Ports
Since the mini PC has native serial ports, Linux exposes them as ttyS devices.
Check available ports:

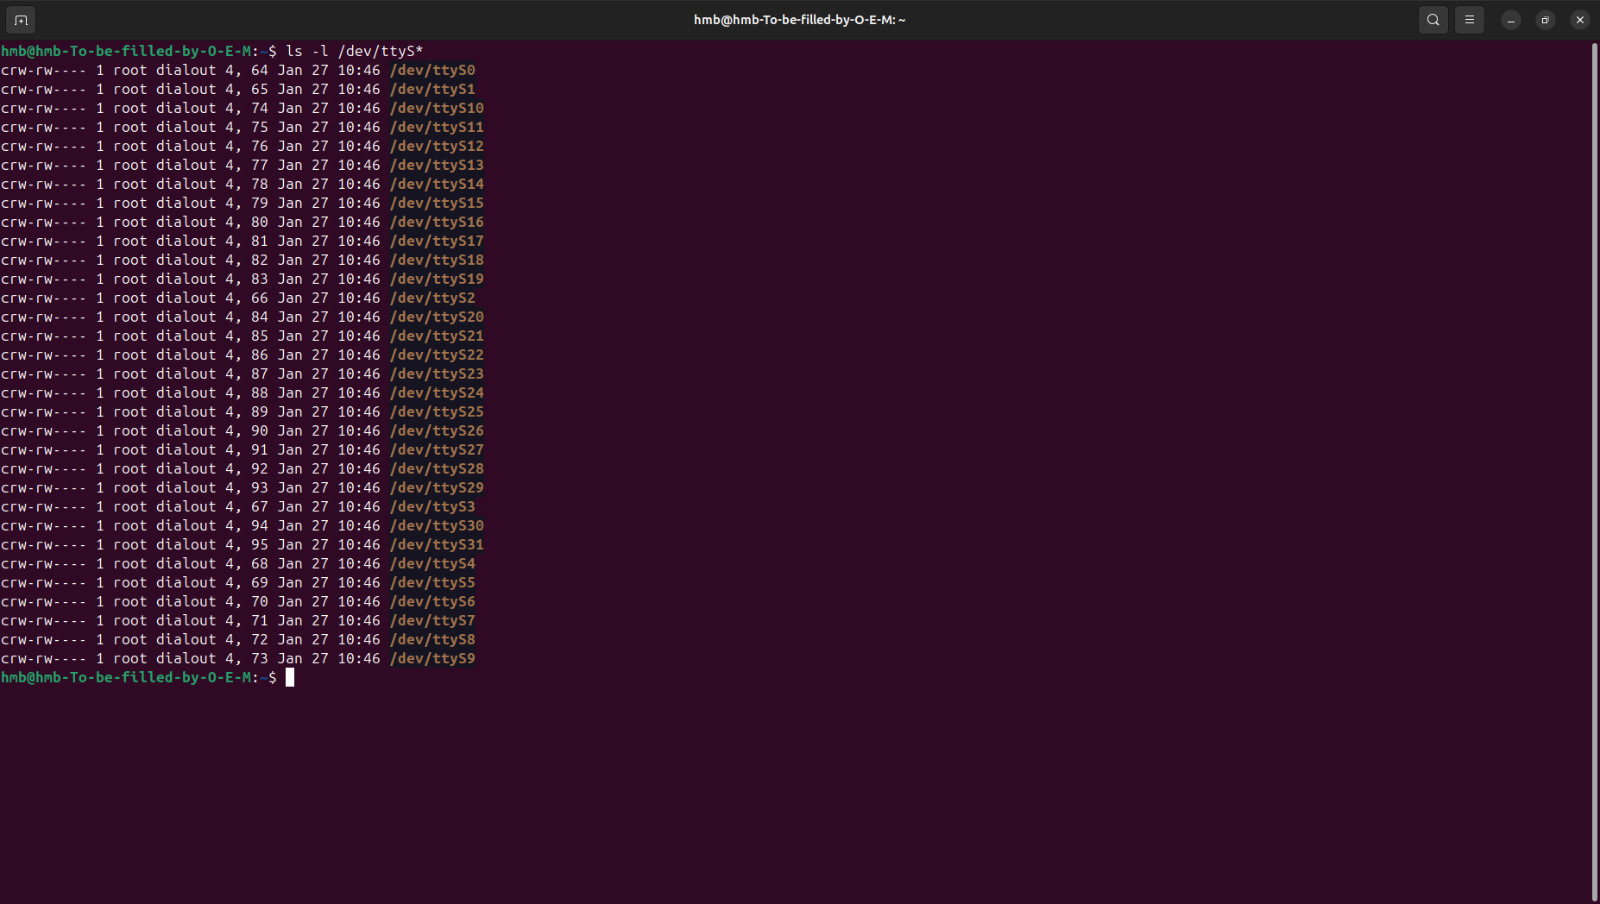
Step 3: Set Serial Permissions
Add your user to the dialout group to access serial devices:
sudo usermod -aG dialout $USER
Log out and log back in for changes to take effect.
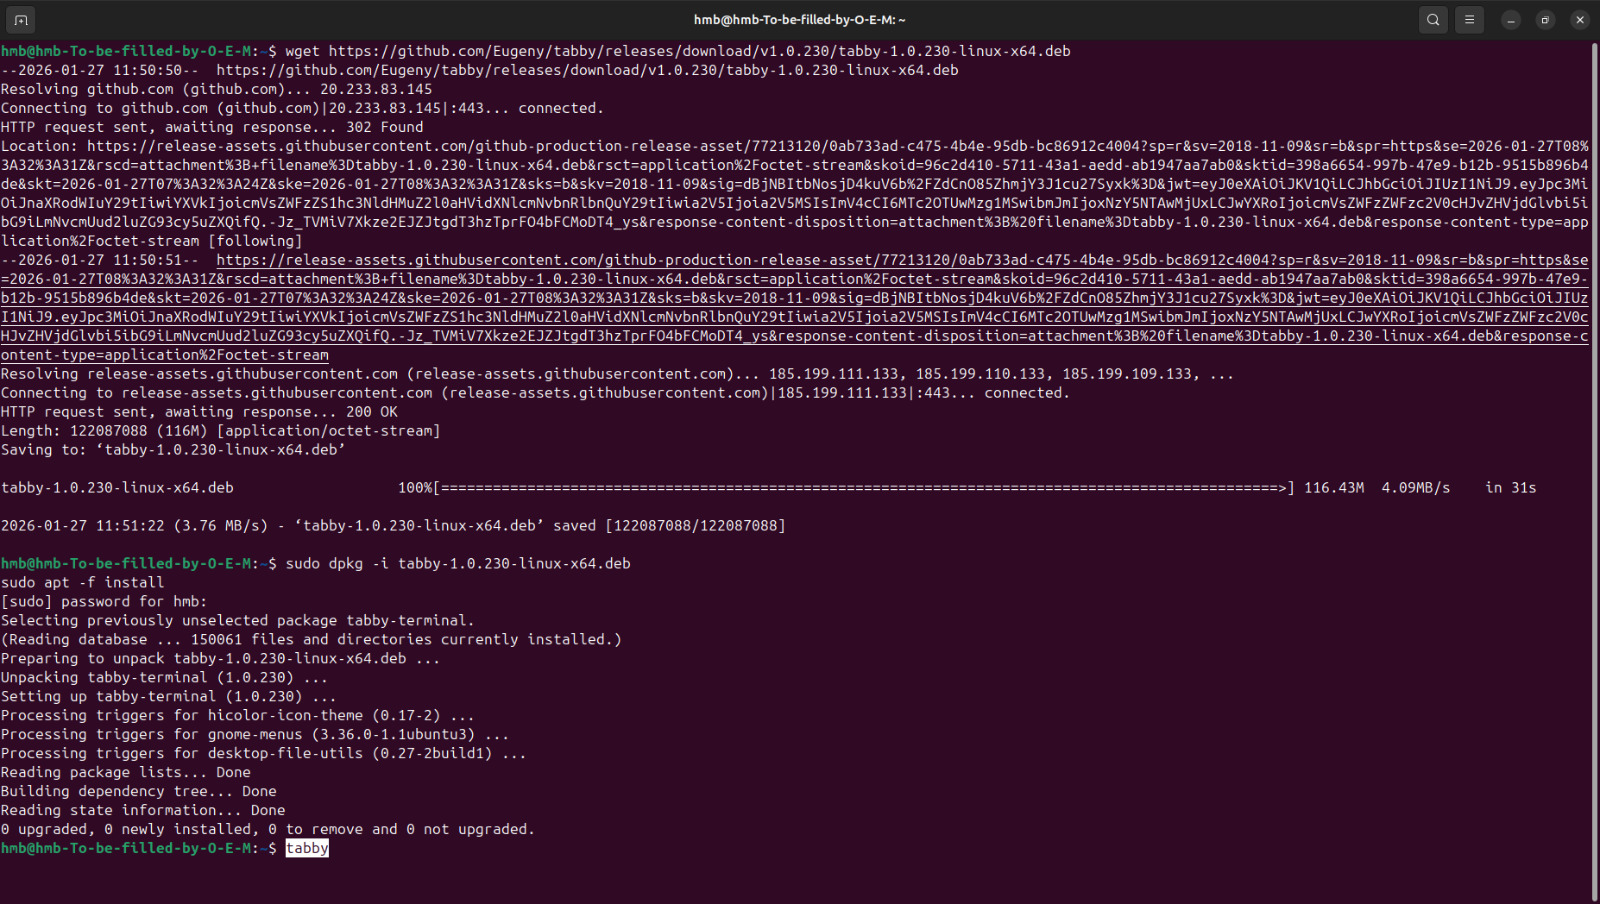
Step 4: Install Tabby
- Download the latest Tabby .deb package
- Install & launch Tabby

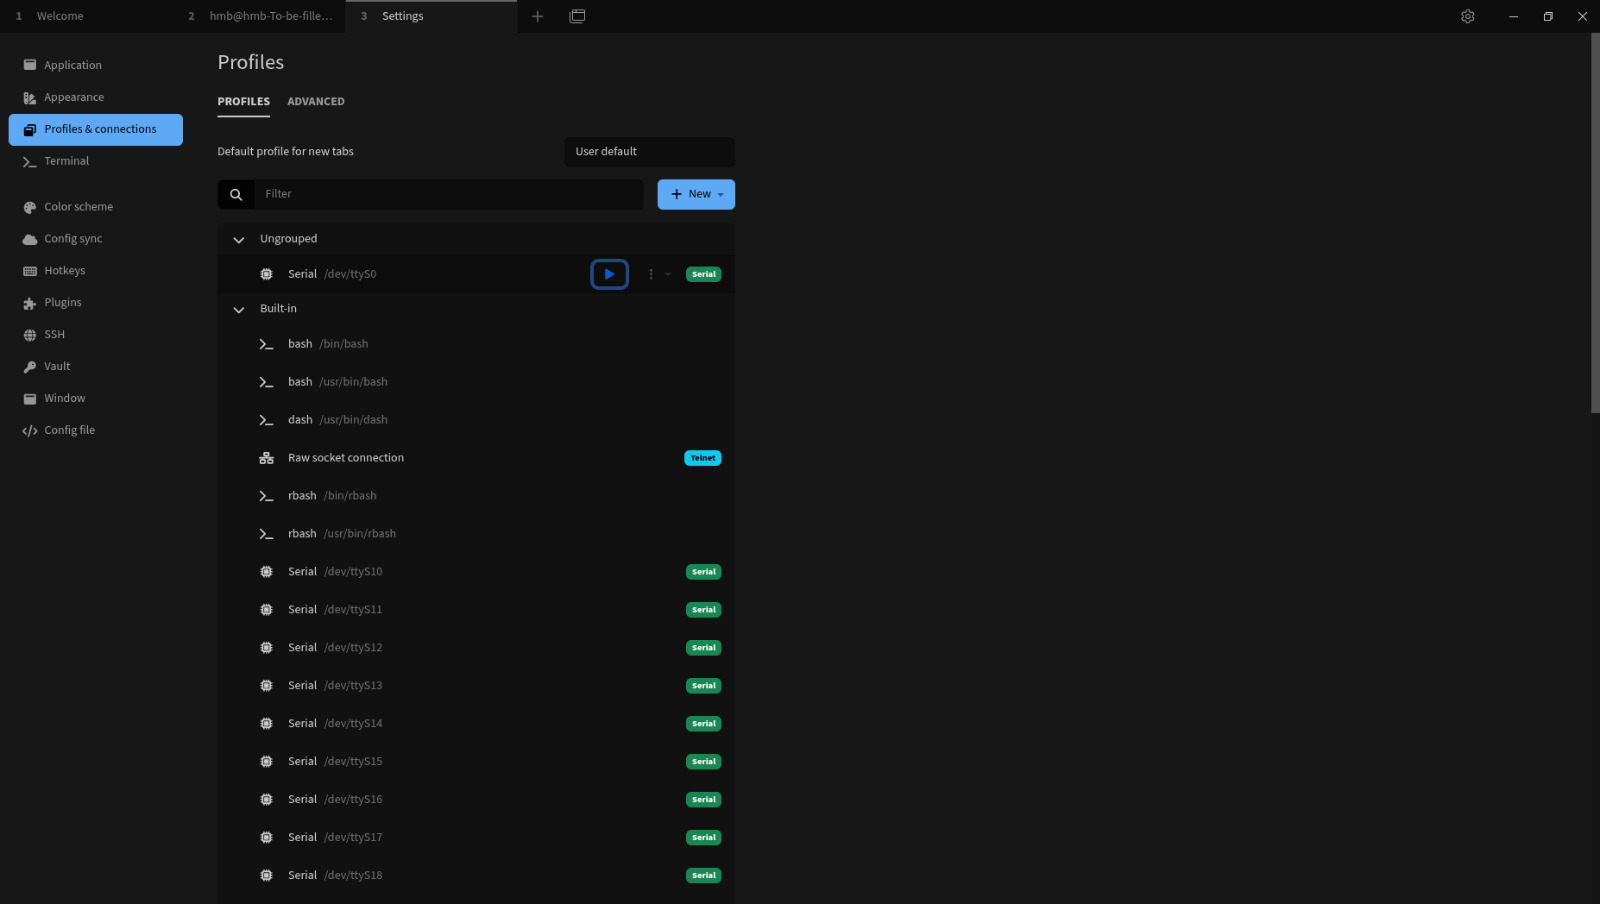
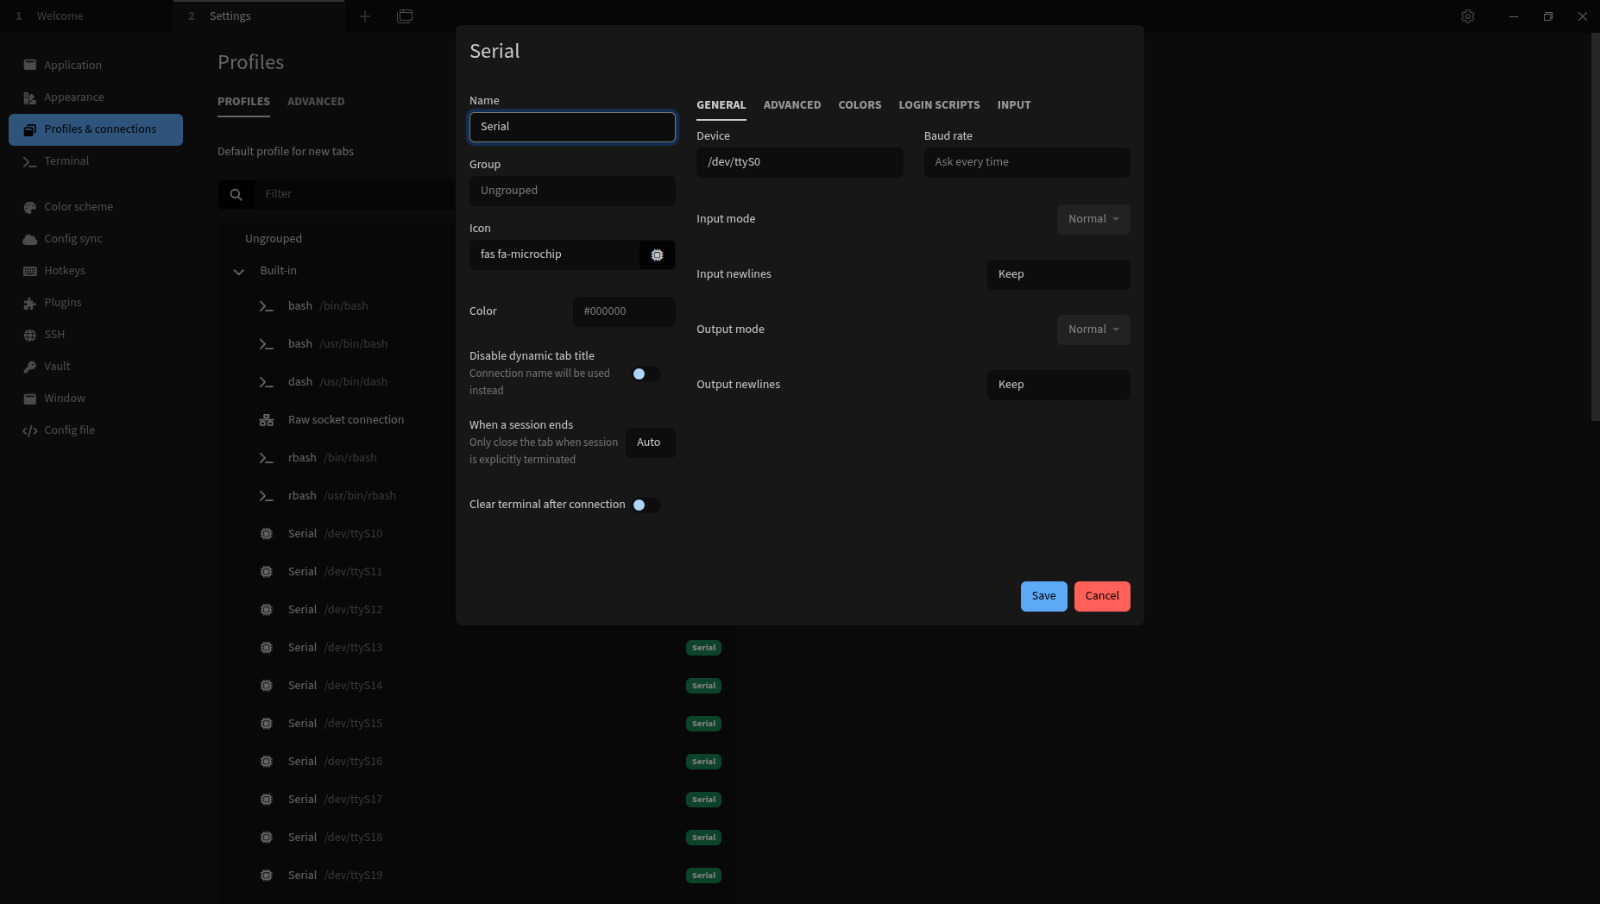
Step 5: Configure Console Sessions in Tabby
For each Cisco device:
- Connection Type: Serial
- Port: /dev/ttyS0 → /dev/ttyS5
- Baud Rate: 9600
- Data Bits: 8
- Parity: None
- Stop Bits: 1
- Flow Control: None
- R1-Console
- SW1-Console
- FW1-Console


Conclusion
If you’re working on a budget, using a mini PC with 6 native console ports is a practical and professional way to build a dedicated console access server for a Cisco lab. Low-cost or repurposed hardware can provide enterprise-style out-of-band console access without the expense of specialized console servers.
Related Posts
Basic SIEM Home Lab Using Elastic Cloud
Create an Elastic Account.Visit https://www.elastic.co and sign up for a...

Basics of Pivoting
In this post, we’ll walk through how to pivot from...

Security Lab Using EVE-NG (Part 1)
1. Install VMware Workstation PlayerDownload and install the latest version...