Security Lab Using EVE-NG (Part 1)

1. Install VMware Workstation Player
Download and install the latest version of VMware Workstation Player from the official website then create a New Virtual Machine.
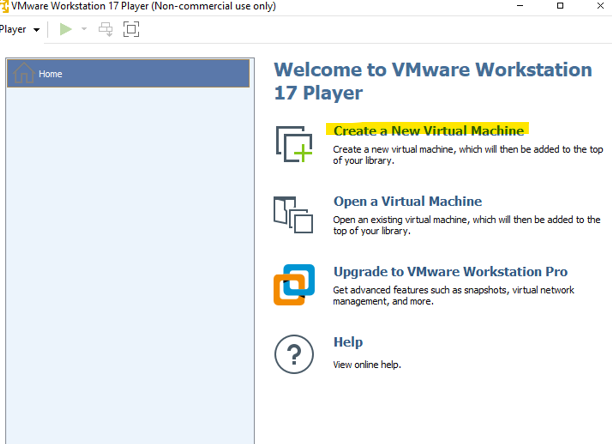
2. Open VMware Workstation Player and select "Create a New Virtual Machine."
Choose "Use ISO image" and download the EVE-NG ISO from the link provided below.
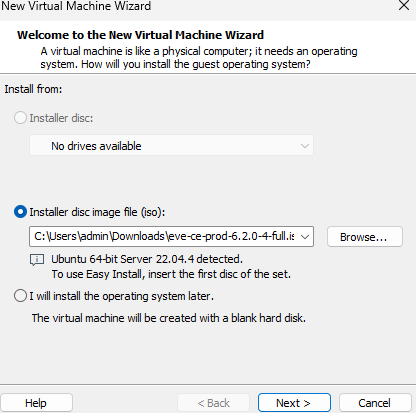
3. Set the maximum disk size to 100 GB.
Allocate sufficient RAM and CPU based on your needs (e.g., 4/8 GB RAM, 2 CPUs).
Proceed with the Standard Installation
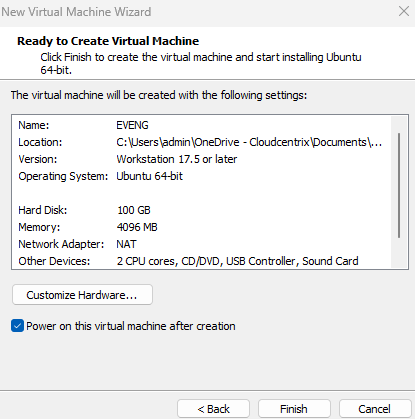
4. Proceed with the Standard Installation
Follow the on-screen instructions to complete the installation of EVE-NG.
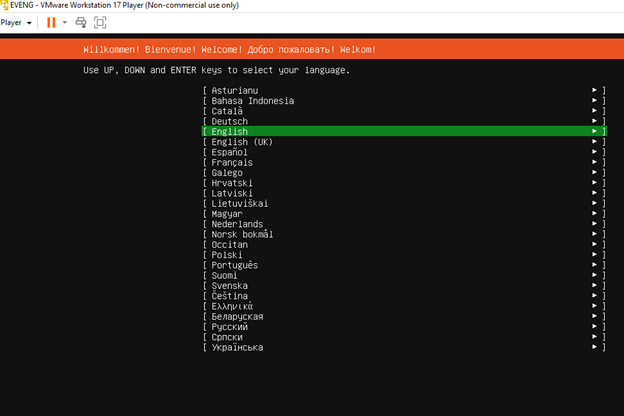
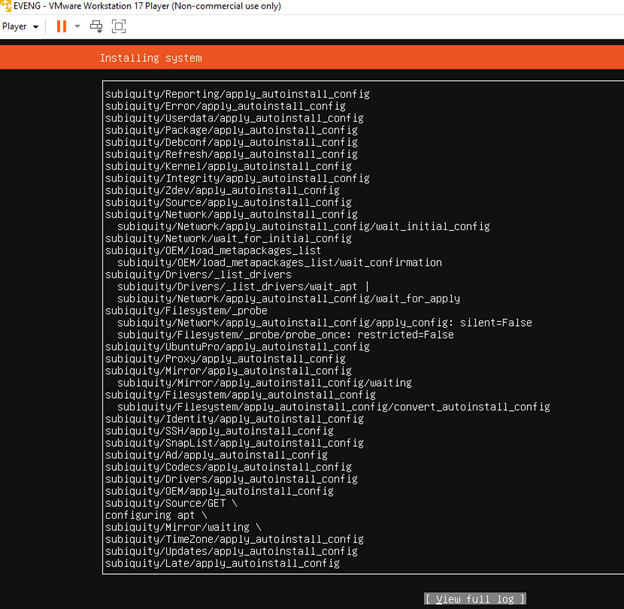
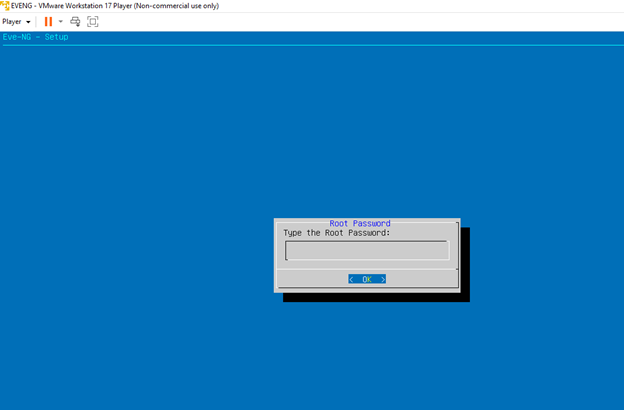
5. Set Up Root Password
During the installation, you will be prompted to set a root password.
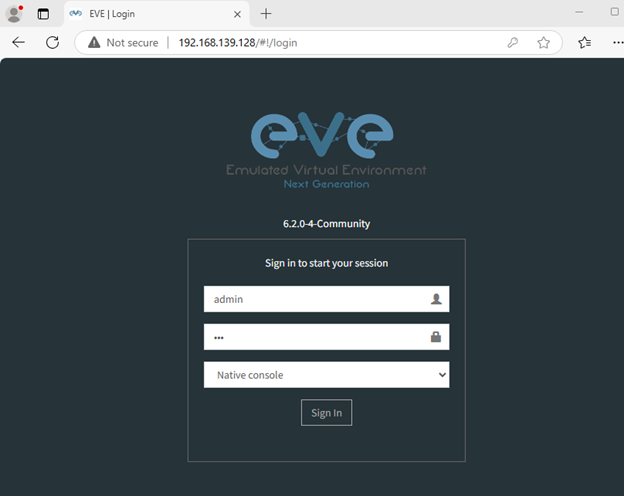
6. Login to EVE-NG
After installation, you can log in using the default credentials. (do not use root)
Username: admin
Password: eve
7. Download and install WinSCP to upload any necessary images to your EVE-NG environment.
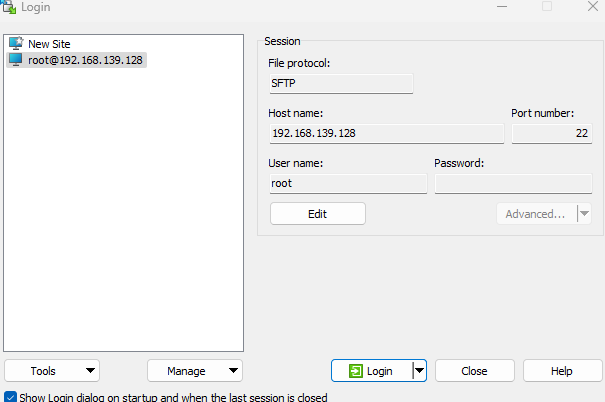
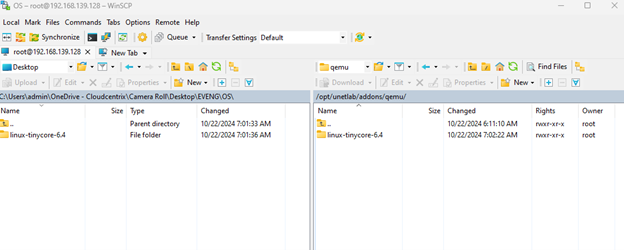
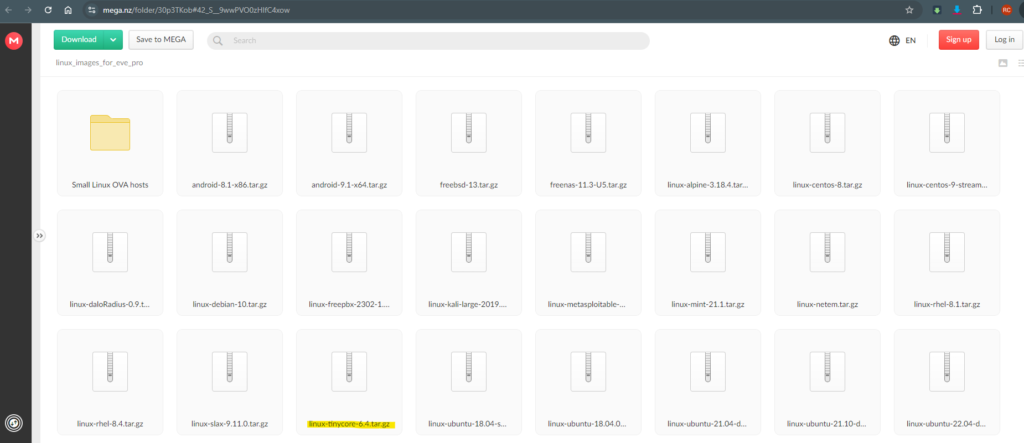
8. Download Linux Images
Obtain the required Linux images from the following link:
https://www.eve-ng.net/index.php/documentation/howtos/howto-create-own-linux-host-image/
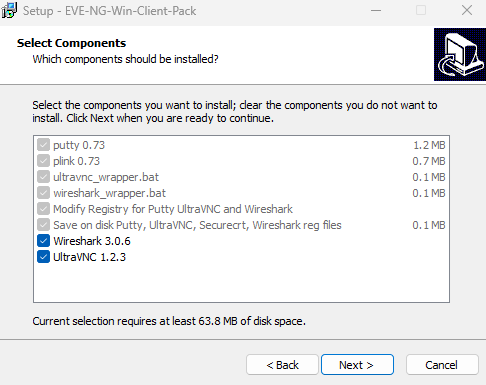
9. Install EVE-NG Pack
If applicable, follow the instructions for installing any additional EVE-NG packs.
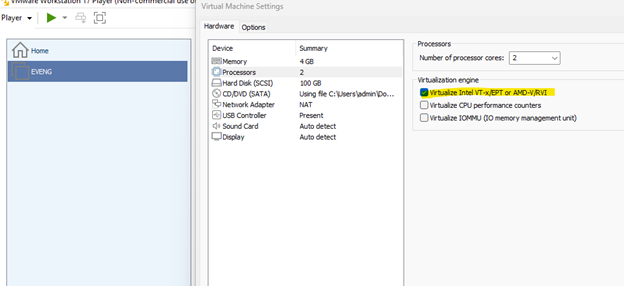
10. Also make sure Virtualize Intel VT-x /EPT or AMD is enabled
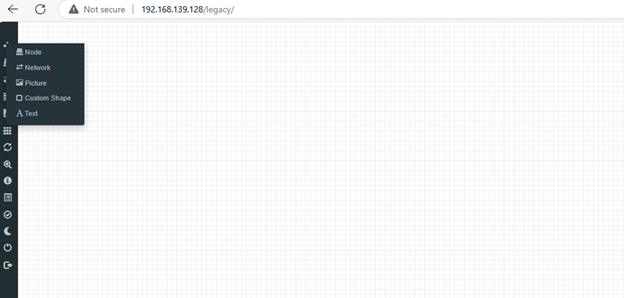
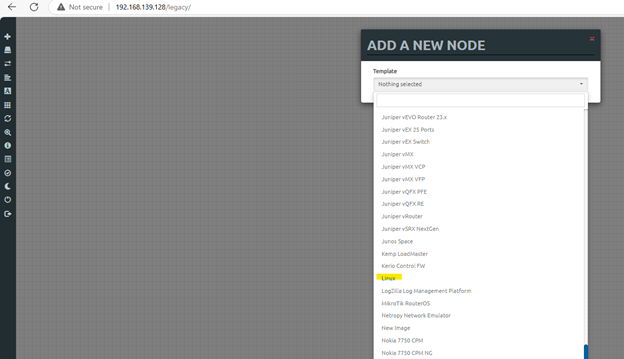
11. Navigate to the EVE-NG interface and create a new lab then add Node -> Linux (as seen below).
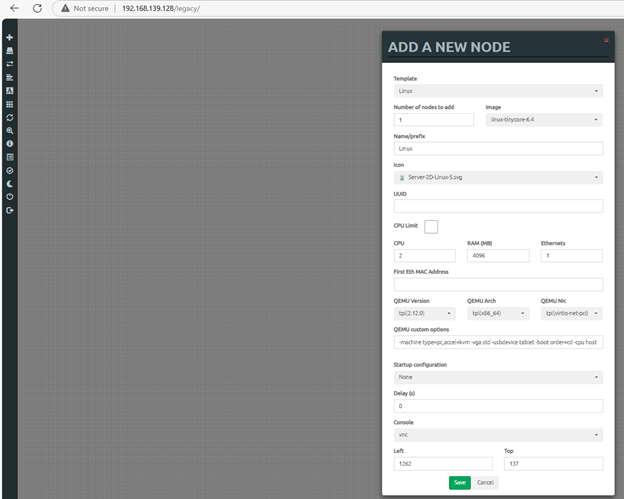
12. Click on the node to open it and view via VNC for configuration and testing.
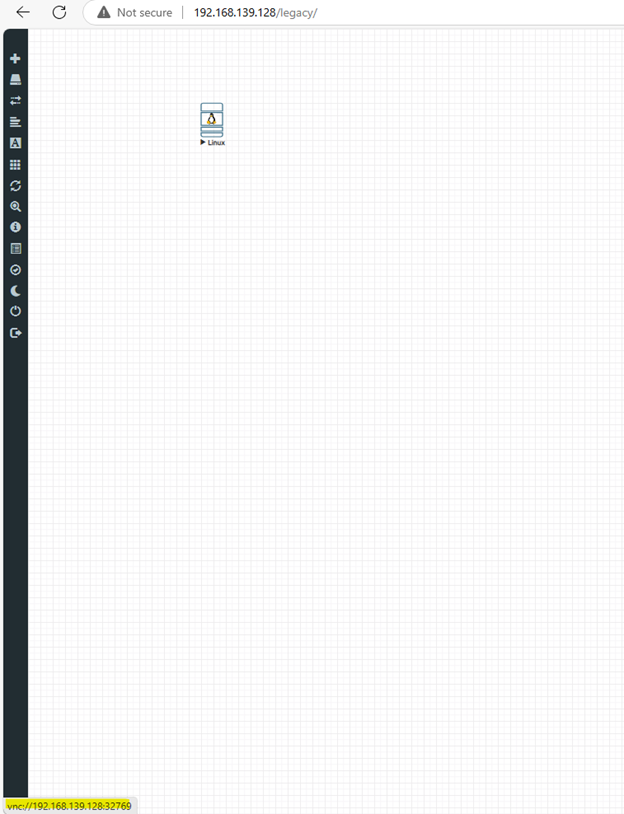
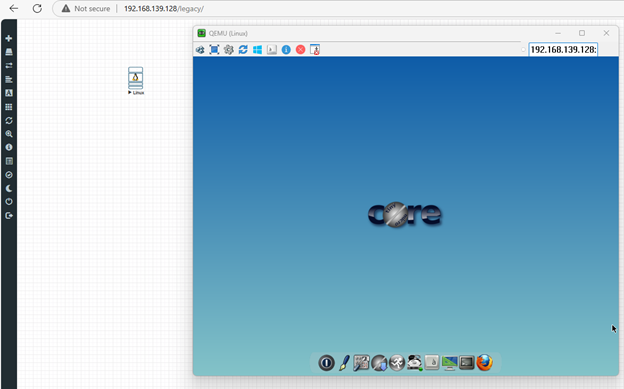
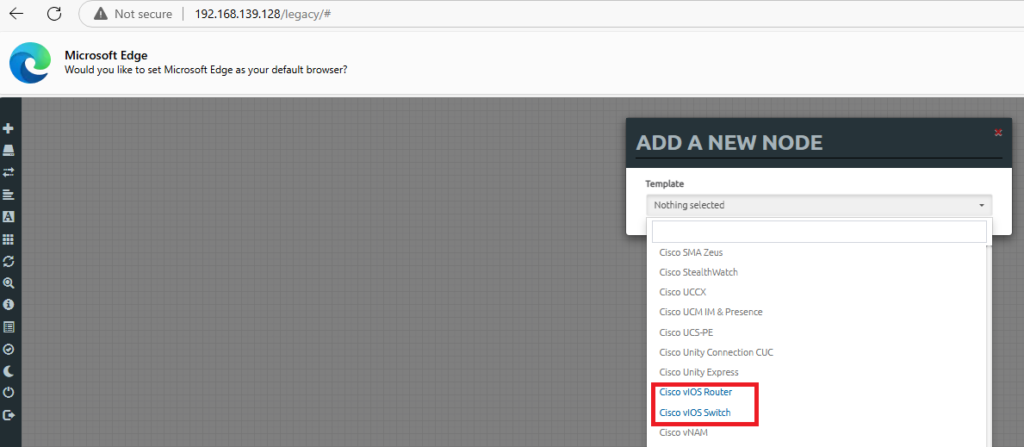
13. To add a router node, download the file vios-adventerprisek9-m.SPA.159-3.M6 and upload it using WinSCP. Once the transfer is complete, rename the file to virtioa.qcow2 as shown below.
Tip: It’s easier to navigate, upload, and rename files using WinSCP compared to regular SSH.


14. Perform the same process to upload the switch image vios_l2-adventerprisek9-m.ssa.high_iron_20200929.qcow2

15. Build your topology by adding the nodes from the network and Linux VM uploaded.
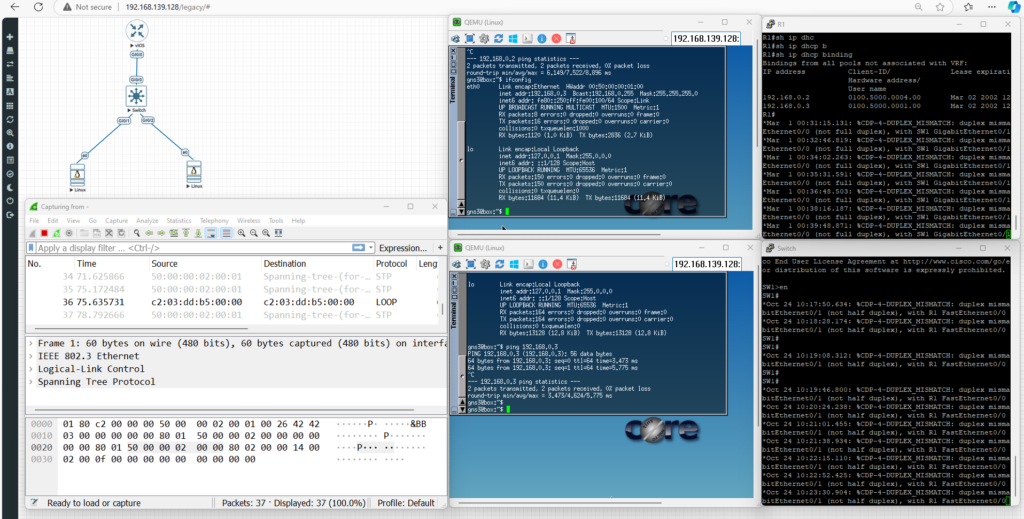
Reference : https://www.eve-ng.net/index.php/documentation/howtos/howto-add-cisco-vios-from-virl/
